Please submit your message online and we will contact you as soon as possible!
- Experience security and speed, without compromise.

2024-04-08
Before moving on to the process of proper connection of a PoE Switch directly to an NVR it is necessary to have the basic knowledge on what the devices stand for and why it is crucial to your security system. To start with, there is comprehend what an NVR and PoE Switch means.

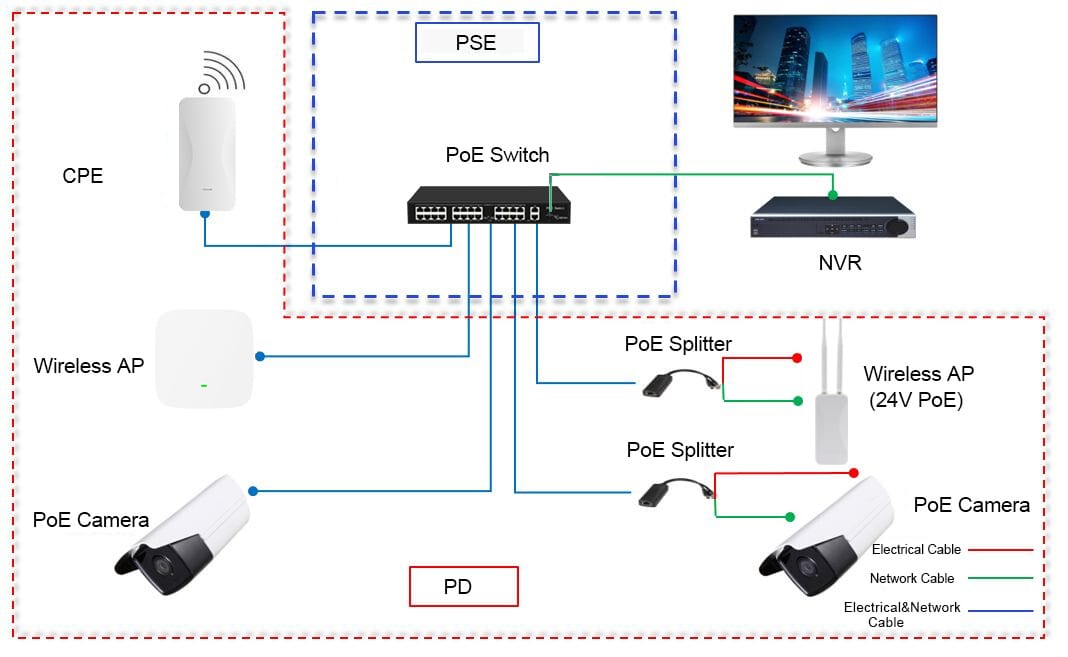
The smart PoE Switch is one of the Ethernet switches that can sign simultaneously both data and power over regular Ethernet cables. It used to supply the necessary power to the PoE-ready devices such as IP cameras with constructing extra electrical cabling.

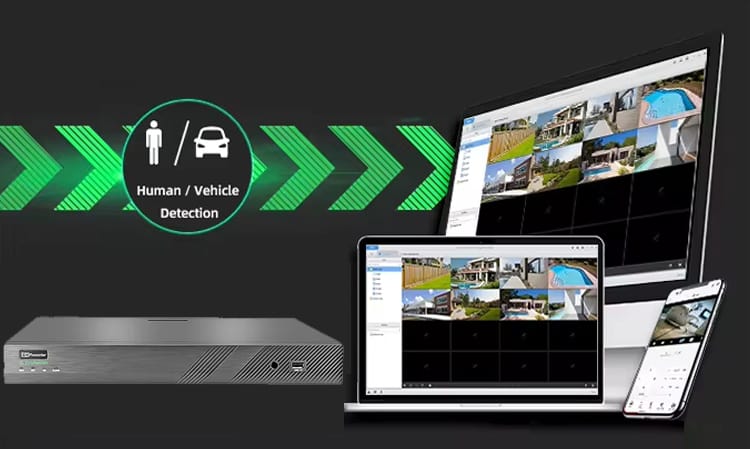
NVR (Network Video Recorder) is an extensively widespread device that performs centralized functions of managing and storing images/video of surveillance systems. If PoE transmission technology and protocols are integrated, it becomes a PoE-based NVR, allowing the distribution of electronic data to and power through the Ethernet cable. Here integration gives a governing function over IP camera
s video data that is linked.

Bringing the PoE Switch to an NVR will be beneficial for multiple aspects of security. Firstly, it allows you to connect more cameras than the built-in ports in the NVR do. This in turn, expands the coverage of your surveillance system. Similarly, it is appropriate for both multiple cameras and equipment as far as IP and the NVR are concerned. Thus, this technology allows you to use cameras placed afar with the NVR, a factor of installation costs reduction.
1. PoE Switch: Ensure it is compatible with your NVR and IP cameras.
Ethernet cables: To establish connections between the PoE Switch, NVR, and IP cameras.
2. IP cameras: They should be PoE (Power Over Ethernet) enabled to allow both power and data to be transferred through a single Ethernet cable.
3. NVR: Ensure that it supports fibre connecting directly to the PoE switch for a smart setup.
To get start, connect your IP cameras to the PoE switch using Ethernet cables. Ensure that each camera is securely plugged into a designated port on the switch. This step establishes the direct link between the cameras and the switch, allowing for both power supply and data transmission.
Link the Power over Ethernet switch to your NVR with high-grade and quality Ethernet cables. The NVR connects the IP camera with the local communication network, so that the video data from IP cameras can be conveniently backed up and managed.
Check that the PoE Switch is firmly plugged to the power. Once the button is pressed on, it will start distributing the power to linked IP cameras so that they will work efficiently. turn on your NVR by connecting it to a power outlet. The NVR serves as the central hub for managing and recording video footage from the connected cameras.
After powering up both the switch and NVR, it's essential to add and configure the connected IP cameras within the NVR interface.After you have added devices, run the NVR from where you can smartly monitor video from all the cameras at your service.
Through these steps, using your PoE Switch added to your NVR ,allowing for seamless power supply and centralized management of your surveillance system.
first step is to take is to check all connections and the power supply. Verify that all PoE cables are connected appropriately to the PoE Switch, the most IP cameras, and the NVR. Sometimes it can be a loose connection which requires some attachment on an NVR to be detected. Also, make sure the PoE switch should get the power currently and work properly. If any connection out of these is loose or if there is a power issue, then NVR would not be able to connect to the cameras and hence they just wouldn’t appear on the interface.
In some cases, you may be doing video quality issues with video surveillance. Therefore, to face this problem, it is good to modify the settings in order to raise the quality. Among the NVR interface, look for settings related to video resolution, frame rate and compression, somewhere in the camera related setup. Adjusting these settings can significantly impact the overall video quality, Resolution and frame rate could be raised by using lossless compression algorithms. Such progress would result in better videos.
Through the prompt solution of these indisposed tendencies, you will therefore be able to ascertain the operation of the system regardless of the disruptions.
Please submit your message online and we will contact you as soon as possible!